In our previous post, we shared our first steps with the Starlink Mini, including testing the power supply and initial setup. Now, we’re excited to share that we’ve mounted it on our RV roof and finalized our setup for reliable connectivity on the road.
Mounting the Starlink Mini on the RV Roof
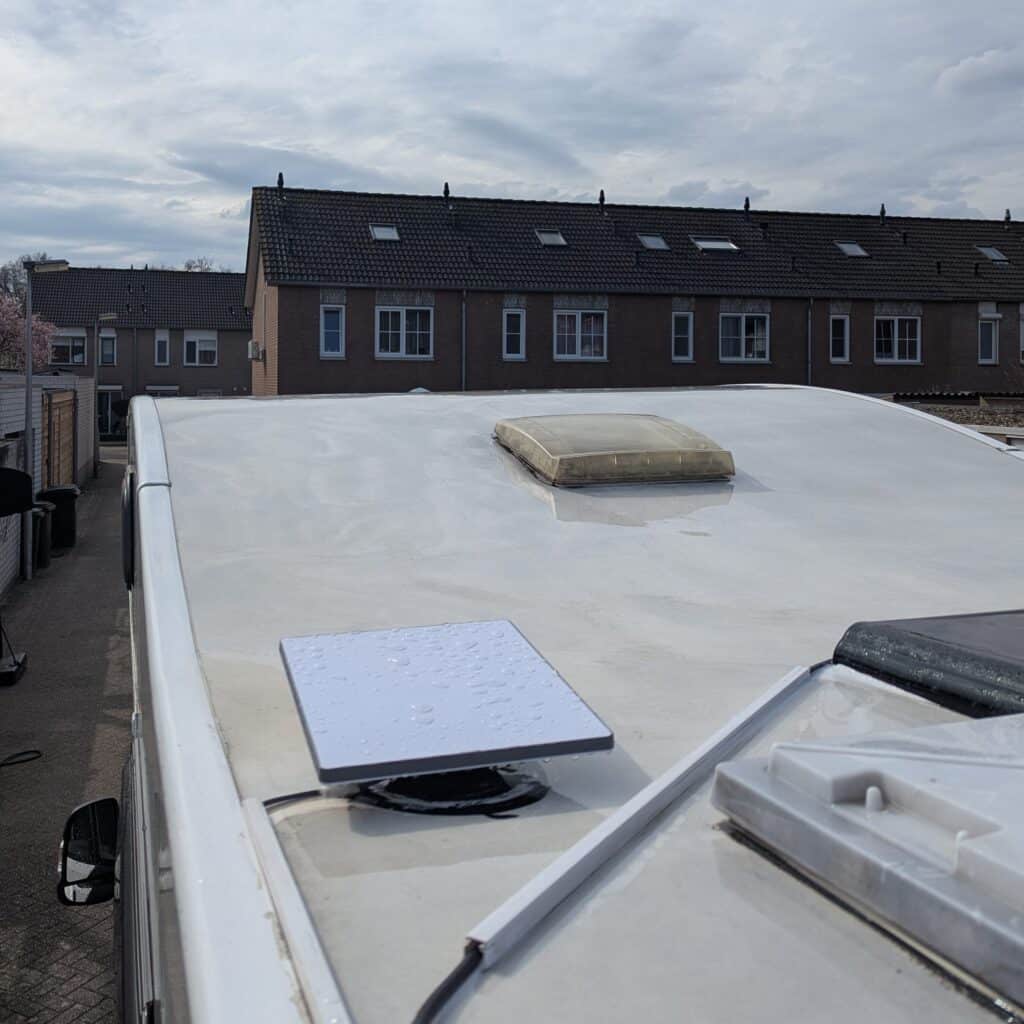
We opted to use the default mount available at Starlink. To ensure stability while driving, we positioned it so that the wind would naturally push it into the mount rather than pushing it out. This simple but effective placement should help keep it secure during long drives, reducing the risk of shifting.
Power Supply Update
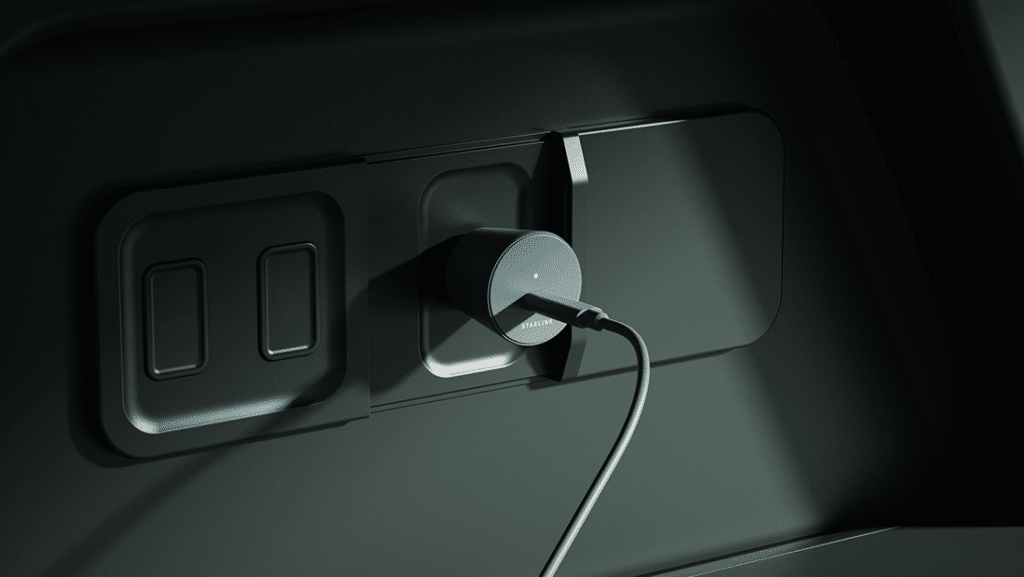
Initially, we powered the Starlink Mini using a third-party 12V adapter. While functional, we found that the adapter produced an irritating noise over time. To resolve this, we replaced it with an original 12V adapter from Starlink. The switch eliminated the noise issue and provided a more seamless and reliable power solution.
Next Steps
With the Starlink Mini now securely mounted and powered, we’re eager to test its performance in different locations while traveling. We’ll be sharing more insights on how it holds up while driving, how well it maintains connectivity, and any adjustments we make along the way. Stay tuned for more updates as we continue our RV adventure with Starlink Mini! If you have any questions or experiences to share, let us know!