As an RV traveler, one of the most important things to me is staying connected while on the road. Whether it’s for work, entertainment, or simply staying in touch, having reliable internet can make all the difference. After researching various options, I decided to invest in Starlink Mini, a satellite internet system that promises fast speeds and global coverage. In this post, I’ll talk about my experience with testing the Starlink Mini’s power supply and the next steps I plan to take for the full setup.
Why Starlink Mini?
Starlink Mini seemed like the ideal solution for internet connectivity on the go. With its promise of high-speed internet in remote areas, it’s perfect for RV travel, where reliable Wi-Fi spots are often hard to come by. What made Starlink Mini stand out was its small size and flexibility, allowing it to be installed on the RV and providing a stable connection even when we’re on the move.
Testing the Power Supply
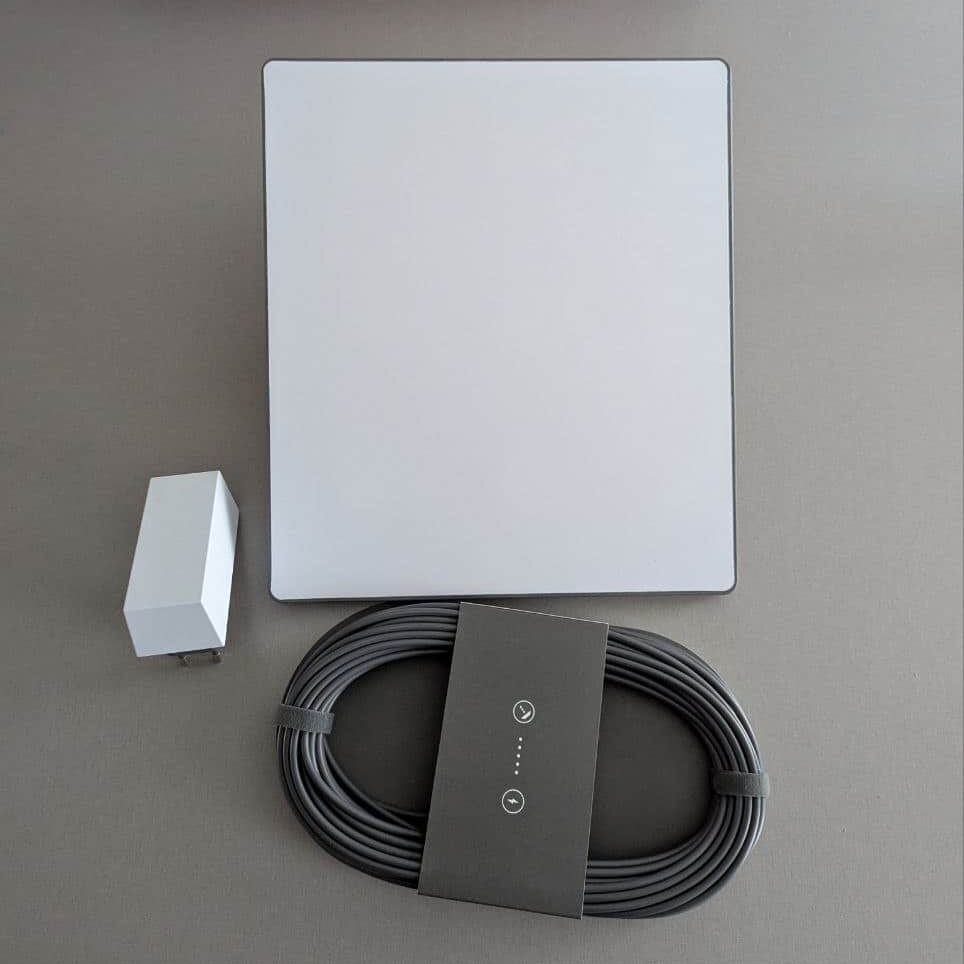
Before diving into the full installation process, I wanted to test the Starlink Mini’s power requirements. The unit typically runs on 100V-240V AC power, which is not compatible with the 12V system in my RV. After a bit of research, I ordered the USB cable of Starlink and tried to run it on a 12v USB outlet of max 60 Watts. Unfortunately that didn’t worked out and the device didn’t boot.
Afterwards, I did some more investigation and came to the conclusion 60Watts was enough. I looked into other power sources and came by UGREEN 130w charger.
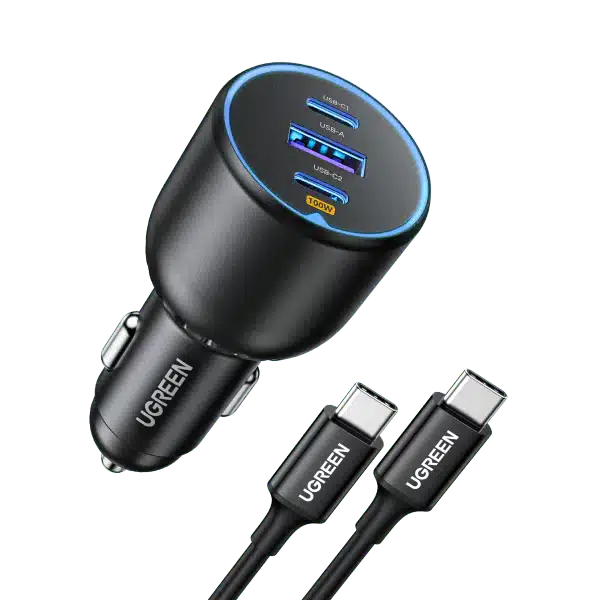
I’m happy to report that the adapter worked perfectly! I was able to power the Starlink Mini using my RV’s 12V system, and it started up without any issues. This was a big relief, as it means I can use the Starlink Mini without needing to find an additional power source.
Next Steps: Mounting and Cabling
While testing the power supply was a success, there’s still a lot to be done before I can use the system on the road. The next steps will involve mounting the Starlink Mini on the roof of the RV and handling the cabling to route the power inside the vehicle. This will require careful planning to ensure the installation is both secure and weatherproof.
Once everything is mounted and the cabling is in place, I’ll be able to test the system in full and see how it performs while driving. I’ll cover this process in a future post, where I’ll go into detail on the mounting and cabling setup.
Looking Ahead
So far, I’m excited about the potential of having Starlink Mini on my RV. The power supply test was a big milestone, and I’m confident that the full setup will make internet access on the road more convenient than ever. Stay tuned for updates as I continue the installation process, and I’ll share more about the mounting and cabling in an upcoming post.